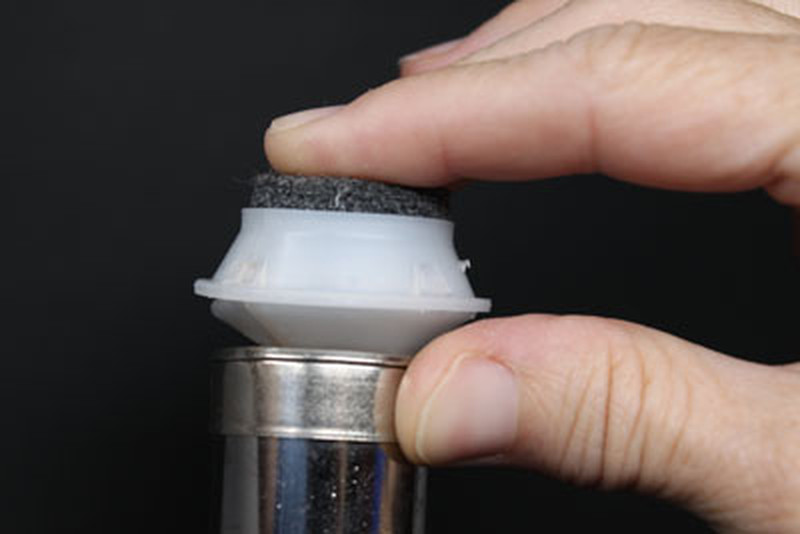
So you just purchased your new Snap-N-Loc® Chair Cap Glides and you’re wondering How to Install Your Snap-N-Loc® Chair Cap Glides. Well, just how easy are the glides are to install?
Relax. In your hands are the world’s fastest and easiest-to-install glides for protecting your floors. The Snap-N-Loc Cap® was designed and patented for ease of use and longevity. The cap comes with SuperFelt®, our proprietary felt that lasts a very long time without collecting dirt or dust and is impervious to liquids of any kind.
To install your Snap-N-Loc® Chair Cap Glides, follow these guidelines:
Make sure you are using the correct cap for the correct chair.
Open the top ring and put it around the top of the chair glide
Snap the side locks FIRST (Left and right Lock) - DO NOT LOCK CENTER (double lock) UNTIL LAST
Snap the center lock last to complete the locking sequence.
Hear the “snap” and you’re good to go. You have now installed your glide.
A full chair will take less than one minute to install. No tools necessary and it’s the easiest system available anywhere. Check out our amazing prices and call for specials if you are going to cover all your school chairs.
If you have any questions about this or any other glide product, please call us at 561-775-2122. We are always here to help.
You can also get more information about installing your Snap-N-Loc Chair Cap Glides at https://chaircaps.com/snl-installation.html

